Glass Balustrade DIY Kit
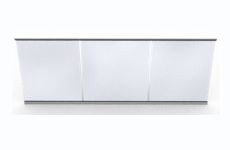
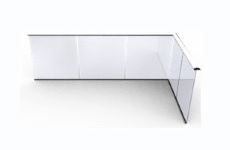
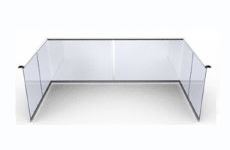
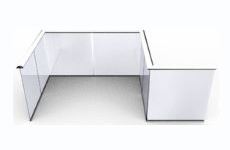
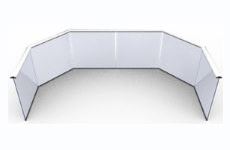
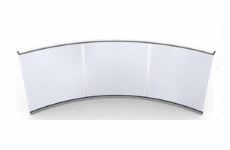
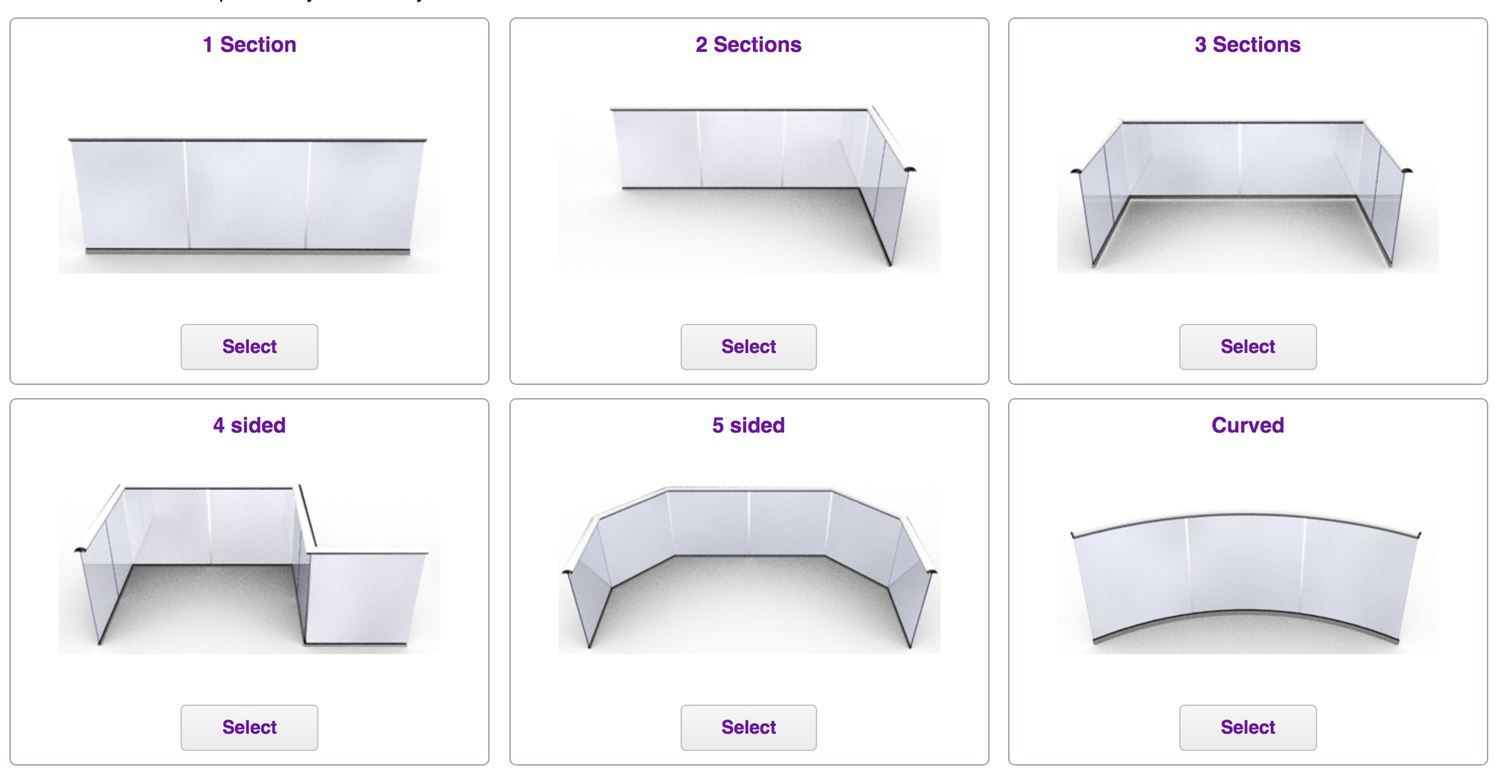
To price your balustrade requirement first choose the shape most similar to yours
No matter how skilled or confident you may be, fitting a glass balustrade is a task that requires two people. It is essential to work with someone you trust and can effectively collaborate with. The time required to complete the job will vary depending on factors such as the location of your balustrade (ground-level installations being simpler), the chosen kit, and the amount of balustrading involved. Smaller setups can typically be completed within a day, while longer runs of balustrading may require 2 or 3 days. Prior to beginning the installation, ensure that you have all the necessary tools at hand. It's also important to keep children and pets away from the work area to prevent unwanted distractions and accidents.
Once your balustrading is in place, you'll likely want to take a moment to admire it. Before doing so, consider treating it with BalcoNano® glass treatment (unless you have already ordered pre-treated glass). This treatment helps keep your glass looking clean and clear for an extended period, particularly beneficial for exposed or hard-to-reach locations. With BalcoNano® treatment, glass balustrades stay cleaner for longer, allowing you to sit back and enjoy the fruits of your hard work.
We hope you feel inspired to fit your own glass balustrade kit. Our website provides all the necessary technical and fitting information, along with reviews from many satisfied customers. If you have any questions or concerns, please don't hesitate to give us a call. We are committed to providing any assistance we can to ensure your project goes smoothly.
Fitting a glass balustrade DIY kit is as easy as 123
Give your home the wow factor with a Balconette glass balustrade kit! Enjoy the benefits of extra light, breathtaking views, and an external facelift that will transform your home into a more stunning and enjoyable living space. We understand that the idea of installing a glass balustrade can be intimidating. With all that glass to fit, it may appear to be a challenging task best suited for professionals.
However, we believe in empowering our customers with the choice to install their glass balustrades themselves. That's why we have meticulously designed kits and provided detailed instructions that make the installation process as easy as 1-2-3. Our user-friendly kits and clear guidance enable you to confidently fit a glass balustrade to your home, achieving outstanding results without the need for professional assistance.
Take control of your home improvement journey and create a beautiful and safe space with our Balconette glass balustrade kit. You'll be amazed at how easily you can achieve professional-looking results.
Step 1: Choose your glass balustrade DIY kit
What do you envision for your glass balustrade kit? Is your priority classic aesthetics and security, or would you prefer a sleek and unobtrusive appearance for your secure and safe balustrade? The Balconette range of balustrades offers options that cater to both ends of the spectrum and everything in between.
No matter which balustrade kit you choose, rest assured that selecting Balconette means choosing the best. Our glass balustrades, proudly made and designed in the UK, have brought immense satisfaction to countless customers. (If you're curious, you can explore some of our reviews.)
Our glass balustrading is not only tough and resilient but also remarkably low maintenance. Thanks to the ingenious design of the aluminium handrail and lighter glass, it is surprisingly lightweight. The result is a combination of lightness, strength, and cutting-edge design, often achieved with minimal or no posts.
Perhaps you'll be captivated by our super-stylish curved glass balustrade, which is so visually appealing that you may find yourself attracting admiring gazes from passers-by. Alternatively, you may opt for one of our more traditional glass balustrade kits, each offering its own unique charm. Options include:
- An all-glass "structural" fully frameless balustrade,
- A semi-frameless balustrade without vertical posts,
- The sleek and sturdy "Aerofoil" handrail balustrade,
- The classic rounded "Orbit" handrail balustrade.
Whichever kit you choose, all our balustrades come in a range of handrail finishes and glass tints, allowing you to customize your balustrade to suit your specific plans and preferences.
Step 2: Preparation
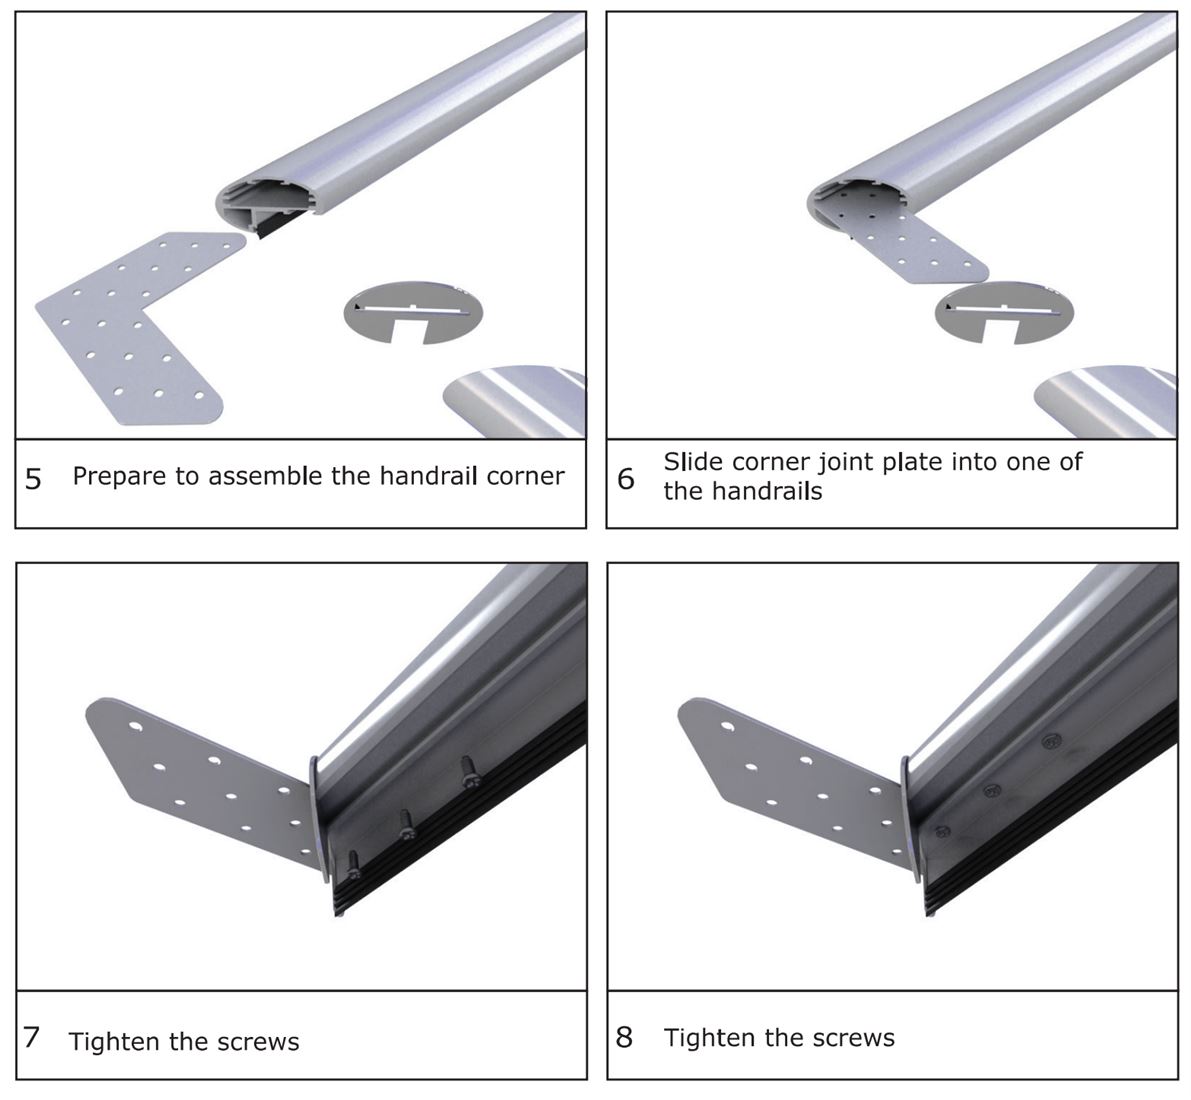
Take a moment to peruse our tried and tested instructions, and you'll discover that fitting our glass balustrade kits is a breeze. Check out the fitting instructions here to see for yourself. Our instructions are clear, easy-to-follow, and far superior to the poorly written flat pack instructions you may have encountered elsewhere. We pride ourselves on providing comprehensive guidance that ensures a smooth installation process.
For additional assistance, head over to our fitting videos, expertly created by our experienced team of engineers and fitters. These videos are designed to be the next best thing to having an expert right by your side, offering valuable insights and practical tips. Should you still encounter any challenges, a quick call to our expert team will swiftly address any concerns and ensure everything falls into place. Our ultimate goal is to ensure your satisfaction with your balustrade, from start to finish.
We want you to feel confident and content throughout the installation process, knowing that we are here to support you every step of the way.
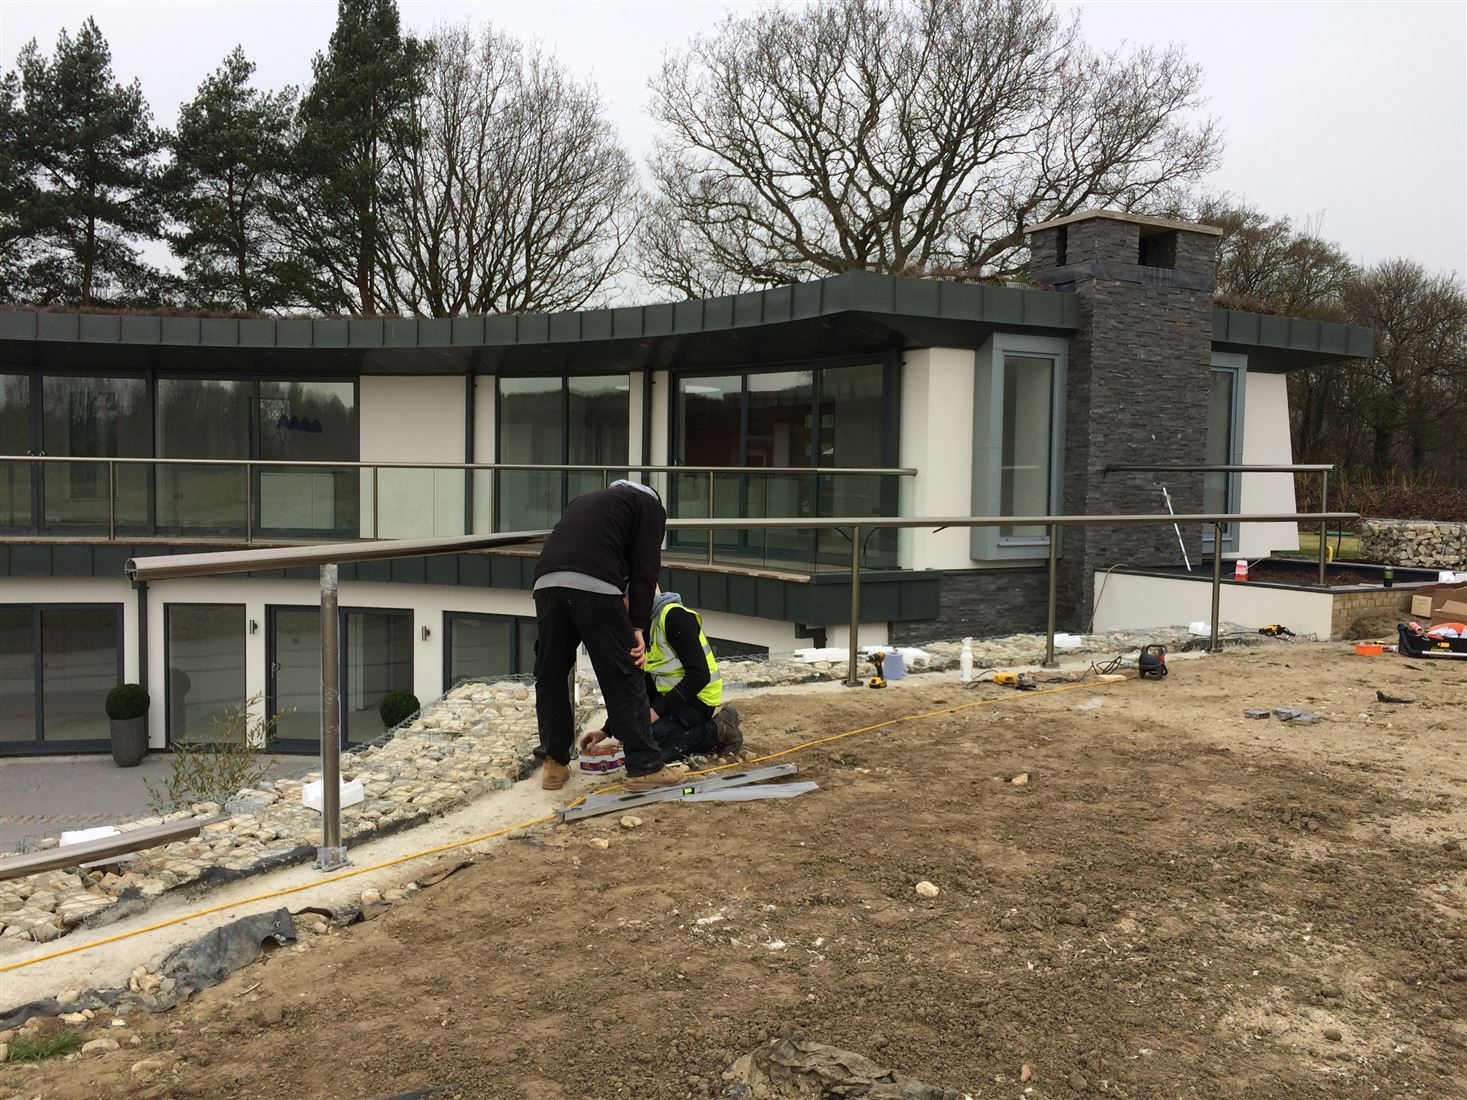
Step 3: Fitting your glass balustrade kit
No matter how skilled or confident you may be, fitting a glass balustrade is a task that requires two people. It is essential to work with someone you trust and can effectively collaborate with. The time required to complete the job will vary depending on factors such as the location of your balustrade (ground-level installations being simpler), the chosen kit, and the amount of balustrading involved. Smaller setups can typically be completed within a day, while longer runs of balustrading may require 2 or 3 days.
Prior to beginning the installation, ensure that you have all the necessary tools at hand. It's also important to keep children and pets away from the work area to prevent unwanted distractions and accidents.
Once your balustrading is in place, you'll likely want to take a moment to admire it. Before doing so, consider treating it with BalcoNano® glass treatment (unless you have already ordered pre-treated glass). This treatment helps keep your glass looking clean and clear for an extended period, particularly beneficial for exposed or hard-to-reach locations. With BalcoNano® treatment, glass balustrades stay cleaner for longer, allowing you to sit back and enjoy the fruits of your hard work.
We hope you feel inspired to fit your own glass balustrade kit. Our website provides all the necessary technical and fitting information, along with reviews from many satisfied customers. If you have any questions or concerns, please don't hesitate to give us a call. We are committed to providing any assistance we can to ensure your project goes smoothly.