Stairs Glass Balustrade Installation
Tech Specs | Installation | Gallery | Projects | Reviews
Need an installer?
Contact us for details of Registered Installers in your area or fill in the online request here: Request An Installer Form

Installation Instructions
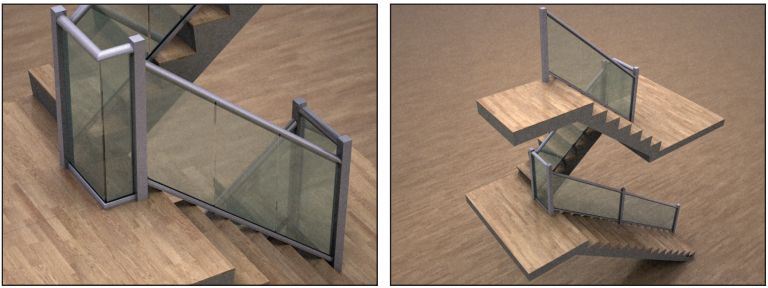
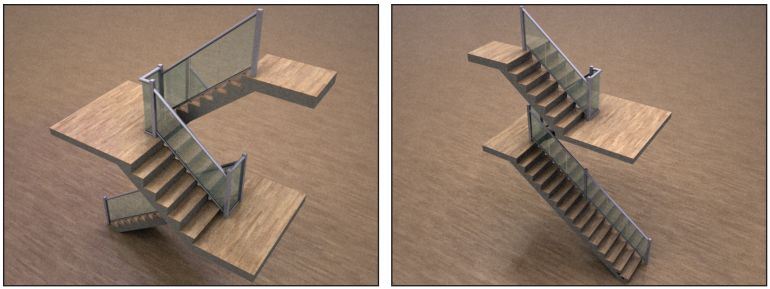
Balcony 1 stair glass balustrade system with 72X72mm Newel Posts installation instructions.
- Check you have all the parts of the order.
- Check the height of the glass.
- Check the height of the posts.
- Check both these heights against the required height on site making sure they are correct before assembling.
- Position the primary steel posts in the correct position.
- Use the appropriate fixings.
- Fix the post firmly to the structure making sure they are perfectly vertical.
- Finish the flooring, decking, screed, floor finish etc. to the required height. This should conceal the base plate and bolts.
- Apply a thick bead of silicone sealant around the primary steel posts in a spiral fashion.
- Slide the system covers post onto the primary posts.
- Ensure the cover posts are in position.
- Inject an additional amount of silicone into the gaps between the steel post and cover post on the inside.
- Prepare to place the cap.
- Cap the post using the end cap.
- Using a level mark the position required to fix the handrail fixing bracket.
- Bring the fixing bracket into position to mark the holes.
- Use the appropriate fixings.
- Fix the handrail fixing bracket in position.
- Bring the handrail into position.
- Drop the handrail onto the brackets.
- Drill 4mm holes through brackets into the handrail.
- Secure the handrail to the bracket.
- Repeat all these steps for all posts.
- Place the bottom track into position.
- Drill into the floor/structure through the bottom rail to fix it.
- Place two 5mm (orange) spacers per required glass panel onto the bottom rail.
- Use silicone to stick them to the bottom rail.
- Place one glass panel at a time into position.
- Use the short pieces of glazing bead to temporarily hold the glass in position.
- Use 3mm rubber gaskets to hold the glass against the small bead pieces on the bottom rail.
- Use the short pieces of glazing bead to temporarily hold the glass in position.
- Use 3mm rubber gaskets to hold the glass against the small bead pieces on the handrail.
- Place the spacers on top of the glass so that the handrail doesn’t sit on the glass.
- Repeat this process for each of the following glass panels.
- One at a time position each glass in its correct position.
- Make sure that all the glass panels are properly aligned.
- Apply a thick bead of high quality silicone sealant to continuously fill the gap between bottom of glass and bottom rail.
- Wait until the silicone is completely dry and then remove the temporary glazing beads and rubber gaskets.
- Replace the full length glazing bead on the bottom rail and hand rail.
- Bottom rail full length glazing bead into position.
- Hand rail full length glazing bead into position.
- Strenghten the grip with rubber gaskets.
- Using soapy water can make it easier to push rubber in.